

Few Mac features are as quietly useful as Time Machine. Once it is set up, it works in the background, creating automatic backups of your files, apps, settings, photos, messages, and system data. If something goes wrong — from accidentally deleting a document to replacing your Mac entirely — Time Machine can help you travel back to an earlier version of your digital life and restore what you need.
TLDR: Time Machine is Apple’s built-in backup tool for Mac, designed to automatically save copies of your files to an external drive or supported network storage. To use it, connect a backup disk, open System Settings, choose Time Machine, and select the disk as your backup destination. Once enabled, Time Machine runs automatically and lets you restore individual files, folders, or even your entire Mac when needed.
Contents
- 1 What Time Machine Does
- 2 What You Need Before You Start
- 3 How to Set Up Time Machine on macOS
- 4 How Automatic Backups Work
- 5 How to Check Backup Progress
- 6 How to Restore Files with Time Machine
- 7 How to Restore an Entire Mac
- 8 Customizing What Time Machine Backs Up
- 9 Common Time Machine Problems and Fixes
- 10 Best Practices for Safer Backups
- 11 Why Time Machine Is Worth Using
What Time Machine Does
Time Machine is included with macOS, which means you do not need to buy or install separate backup software to get started. Its job is simple: it keeps regular copies of your Mac’s data so you can recover from mistakes, hardware failure, software problems, or a lost computer.
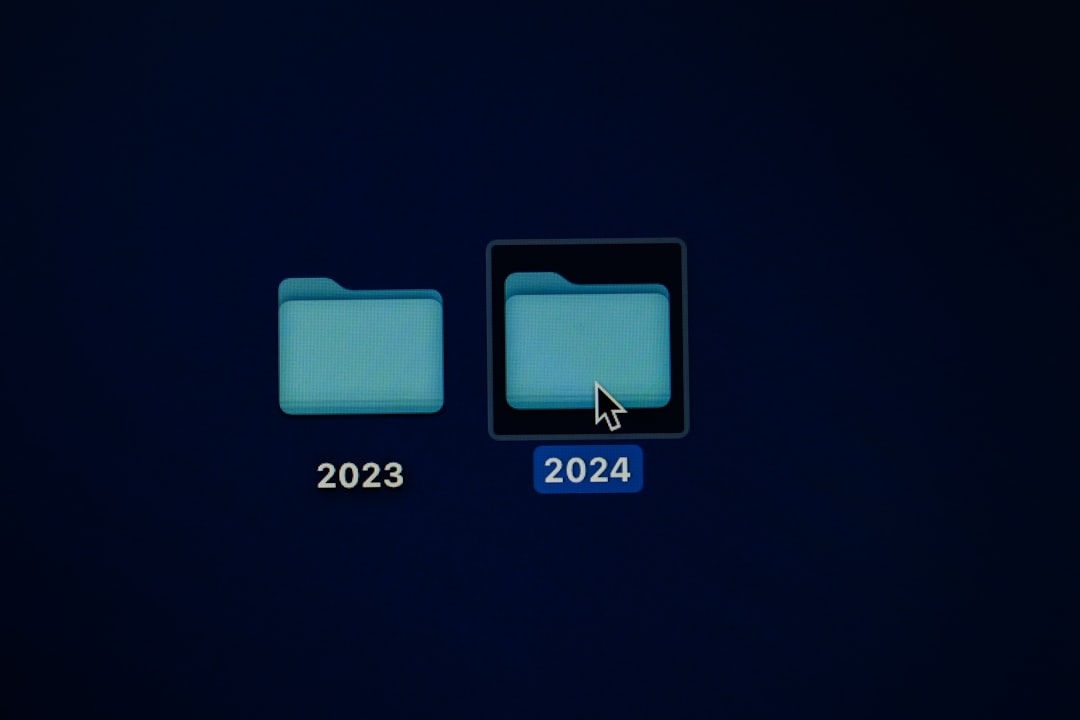
What makes Time Machine especially convenient is that it is not just a one-time backup tool. It creates a timeline of backups, so you can return to earlier versions of files. For example, if you edited a presentation yesterday and then realized today that you deleted an important slide, Time Machine may let you restore the previous version without affecting everything else on your Mac.
By default, Time Machine saves:
- Local snapshots as space permits
- Hourly backups for the past 24 hours
- Daily backups for the past month
- Weekly backups for older months
When the backup disk fills up, Time Machine automatically removes the oldest backups to make room for new ones. This makes it essentially a set it and forget it system, as long as your backup drive remains available.
What You Need Before You Start
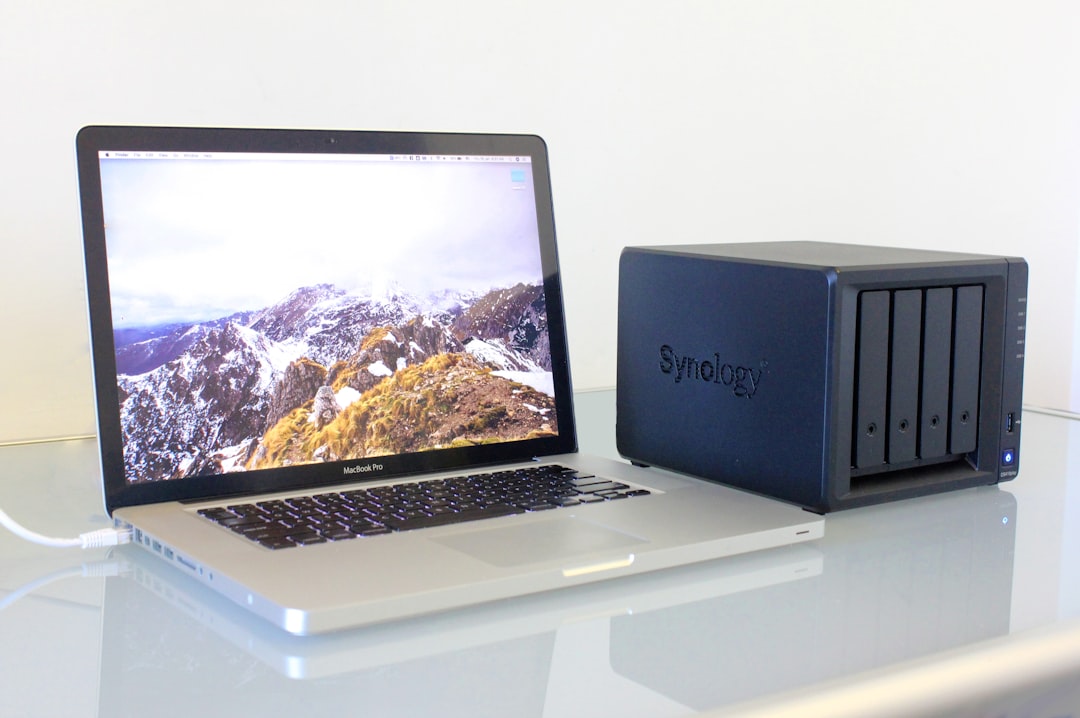
To use Time Machine, you need a backup destination. The most common option is an external hard drive or SSD connected by USB, Thunderbolt, or USB-C. You can also use some network storage devices, including certain NAS systems, as long as they support Time Machine backups.
For best results, choose a drive that has more storage than your Mac. A good rule is to use a backup disk with at least two times the storage capacity of the data you expect to back up. If your Mac has 500 GB of files, a 1 TB or 2 TB backup drive gives Time Machine more room to keep older versions.
Here are a few practical tips for choosing a backup drive:
- External SSD: Faster, quieter, and more durable, but usually more expensive.
- External hard drive: More affordable for large storage sizes, but slower and more fragile.
- Network storage: Useful if you want wireless backups, but setup can be more technical.
- Dedicated drive: Ideally, use the disk only for Time Machine to avoid confusion and storage conflicts.
If your backup disk contains important files already, copy them elsewhere first. Time Machine may need to erase or reformat the disk before it can use it.
How to Set Up Time Machine on macOS
Setting up Time Machine only takes a few minutes. The exact wording may vary slightly depending on your macOS version, but the process is generally the same.
- Connect your external drive to your Mac.
- Open the Apple menu in the top-left corner of the screen.
- Choose System Settings.
- Scroll down and click General.
- Select Time Machine.
- Click Add Backup Disk or Select Backup Disk.
- Choose your external drive from the list.
- Click Set Up Disk or Use Disk.
Your Mac may ask whether you want to erase the disk or encrypt the backup. If the disk is not already in a compatible format, macOS will prepare it for Time Machine.
Encryption is strongly recommended, especially if you back up personal documents, financial records, work files, or anything private. An encrypted Time Machine backup requires a password to access, which protects your information if the drive is lost or stolen. Just be sure to save the password somewhere safe, because without it, you may not be able to restore the backup.
How Automatic Backups Work
Once Time Machine is configured, the first backup begins automatically. This first backup can take a while because Time Machine needs to copy a large amount of data. Depending on the size of your Mac and the speed of your drive, it could take minutes, hours, or even longer.
After the first backup, future backups are usually much faster. Time Machine only copies what has changed since the previous backup, such as new files, edited documents, downloaded photos, or updated app data.
If you use a laptop, you do not have to keep the backup drive connected all the time. When the drive is disconnected, macOS can create temporary local snapshots on your internal storage. Later, when you reconnect the backup disk, Time Machine transfers the changes to the external drive.
However, it is a good habit to connect your backup disk regularly. If you use your Mac every day, consider plugging in the drive at least once a day or a few times a week. The more often you back up, the less data you risk losing.
How to Check Backup Progress
You can monitor Time Machine from System Settings or from the menu bar. If the Time Machine icon is not visible in the menu bar, you can enable it in settings, depending on your macOS version.
To check backup status:
- Open System Settings.
- Go to General, then Time Machine.
- Look for the latest backup time and disk status.
You may also see messages such as Preparing backup, Backing up, or Cleaning up. These are normal. The Preparing backup stage can take longer if many files have changed, if the disk was disconnected for a long time, or if macOS is checking the backup structure.
How to Restore Files with Time Machine
The most enjoyable part of Time Machine is its visual restore interface. It lets you browse through earlier versions of folders and files as if you are moving through time.
To restore a file or folder:
- Open the folder where the missing or changed file used to be.
- Click the Time Machine icon in the menu bar, if available.
- Select Browse Time Machine Backups.
- Use the timeline or arrows to move through older backups.
- Select the file or folder you want.
- Click Restore.
The restored item usually returns to its original location. If a file with the same name already exists, macOS may ask whether you want to keep the current version, replace it, or keep both.
This is especially helpful for creative projects, spreadsheets, writing drafts, photo libraries, and coding work. Instead of panicking when something disappears, you can simply look backward and retrieve it.
How to Restore an Entire Mac
Time Machine is not only for individual files. It can also help you restore an entire Mac after replacing a drive, buying a new computer, or reinstalling macOS.
During the setup process on a new or erased Mac, macOS may offer to transfer information from a Time Machine backup. This is done using Migration Assistant. You can choose to restore user accounts, applications, documents, and settings.
To use Migration Assistant manually:
- Connect your Time Machine backup drive.
- Open Migration Assistant from the Utilities folder.
- Choose to transfer from a Mac, Time Machine backup, or startup disk.
- Select your backup.
- Choose what you want to transfer.
- Follow the on-screen instructions.
This can make moving to a new Mac feel surprisingly seamless. Your files, apps, and familiar settings can reappear without manually dragging folders around or reinstalling everything one piece at a time.
Customizing What Time Machine Backs Up
By default, Time Machine tries to back up most of your Mac. That is usually what you want. But there may be cases where you do not need certain folders included, such as large temporary files, virtual machines, downloaded installers, or media files stored elsewhere.
You can exclude items from Time Machine backups:
- Open System Settings.
- Go to General, then Time Machine.
- Click Options.
- Add folders or disks you want to exclude.
- Save your changes.
Excluding unnecessary files can reduce backup size and speed up backups. Still, be careful. If you exclude a folder, Time Machine cannot help you recover it later. When in doubt, back it up.
Common Time Machine Problems and Fixes
Time Machine is reliable, but no backup system is perfect. If backups stop working, the cause is often simple.
- The drive is not connected: Reconnect it and wait a few minutes for Time Machine to detect it.
- The disk is full: Time Machine usually deletes older backups automatically, but a very small drive may still struggle.
- The backup is slow: Try connecting directly instead of through a hub, and let the first backup finish overnight.
- The disk has errors: Open Disk Utility and run First Aid on the backup drive.
- Backups fail repeatedly: Restart your Mac, reconnect the drive, and check for macOS updates.
If Time Machine says it needs to create a new backup, read the message carefully. Sometimes macOS detects that the old backup can no longer be used reliably. In that case, starting fresh may be the safest option, though you should avoid erasing old backups until you are confident the new one is complete.
Best Practices for Safer Backups
Time Machine is excellent, but smart backup habits make it even better. A single external drive protects you from many problems, but it does not protect against everything. For example, if your Mac and backup disk are stolen together or damaged in the same accident, you could still lose data.
Consider these best practices:
- Use more than one backup: Keep a second Time Machine drive and rotate it occasionally.
- Store one backup off-site: A drive kept in another location protects against theft, fire, or flooding.
- Encrypt your backups: This keeps your private information safe.
- Test restores: Occasionally restore a small file to confirm the backup works.
- Do not ignore warnings: If Time Machine reports a problem, fix it promptly.
You may also want to combine Time Machine with cloud storage. Services like iCloud Drive can sync files across devices, while Time Machine creates historical local backups. These tools are different: syncing keeps files up to date across devices, while backups protect older versions and deleted items.
Why Time Machine Is Worth Using
Backups are easy to postpone because data loss feels unlikely — until it happens. A dropped laptop, failed SSD, mistaken deletion, corrupted file, or problematic update can turn into a major headache. Time Machine reduces that risk dramatically with very little effort after setup.
The real strength of Time Machine is that it fits naturally into the Mac experience. It is built in, automatic, flexible, and friendly enough for beginners while still powerful enough for experienced users. You do not need to remember complex commands or manually copy folders every night. You simply provide a backup destination, and Time Machine quietly does the work.
If you have not set it up yet, the best time is today. Connect a reliable external drive, turn on Time Machine, enable encryption, and let the first backup complete. Future you — the one who accidentally deletes a file or needs to set up a new Mac quickly — will be very grateful.