

Achieving a professional sound with a Fifine microphone is not just about owning quality hardware—it is about understanding how to adjust settings properly. Whether you use your mic for streaming, podcasting, voiceovers, gaming, or online meetings, fine-tuning the configuration can dramatically improve clarity, warmth, and overall balance. Even affordable USB microphones like those from Fifine are capable of producing studio-level results when paired with correct gain staging, software adjustments, and room optimization.
TLDR: To make your Fifine mic sound professional, start by properly setting gain and mic placement. Adjust input levels in your computer or recording software to avoid clipping while maintaining strong signal clarity. Use EQ, noise reduction, and compression carefully to enhance warmth and control dynamics. Finally, optimize your recording environment to reduce echo and background noise.
Contents
- 1 Understanding Your Fifine Microphone
- 2 Step 1: Set the Correct Gain Level
- 3 Step 2: Optimize Microphone Placement
- 4 Step 3: Adjust Equalization (EQ) for Clarity
- 5 Step 4: Apply Compression Carefully
- 6 Step 5: Reduce Background Noise
- 7 Step 6: Adjust Monitoring and Output Levels
- 8 Common Mistakes to Avoid
- 9 Advanced Tips for a Studio-Like Sound
- 10 Troubleshooting Audio Problems
- 11 Consistency Is the Key to Professional Sound
Understanding Your Fifine Microphone
Before adjusting settings, it is important to understand what type of Fifine microphone you are using. Most models fall into one of two categories:
- USB microphones (e.g., Fifine K669B, K670, AmpliGame series)
- XLR microphones (used with audio interfaces or mixers)
USB microphones connect directly to your computer and rely heavily on internal preamps. XLR microphones offer more advanced control but require an interface for gain and processing.

No matter the model, three core elements determine sound quality:
- Gain level
- Microphone placement
- Post-processing settings
If these are set correctly, even entry-level equipment can produce polished results.
Step 1: Set the Correct Gain Level
Gain is the most critical setting. Too low, and your voice sounds distant and thin. Too high, and you introduce distortion or clipping.
How to Adjust Gain Properly
- Speak at your normal recording volume.
- Adjust the physical gain knob on the mic (if available) or within your sound settings.
- Aim for peak levels between -12 dB and -6 dB in your recording software.
- Ensure the signal never hits 0 dB (this causes clipping).
A professional waveform should look consistent and controlled—not flat at the top. If your Fifine microphone does not include a physical gain knob, adjust input sensitivity in:
- Windows: Sound Settings > Input > Device Properties
- Mac: System Settings > Sound > Input
- Your recording software (OBS, Audacity, Adobe Audition, etc.)
Important: It is better to record slightly quieter and amplify later than to record too loud and distort the audio irreversibly.
Step 2: Optimize Microphone Placement
Microphone positioning can improve sound quality more than any software adjustment.
Distance and Angle
- Place the microphone 6 to 8 inches from your mouth.
- Position it slightly off-center (about 20 degrees) to reduce plosive sounds.
- Use a pop filter to minimize harsh “P” and “B” sounds.
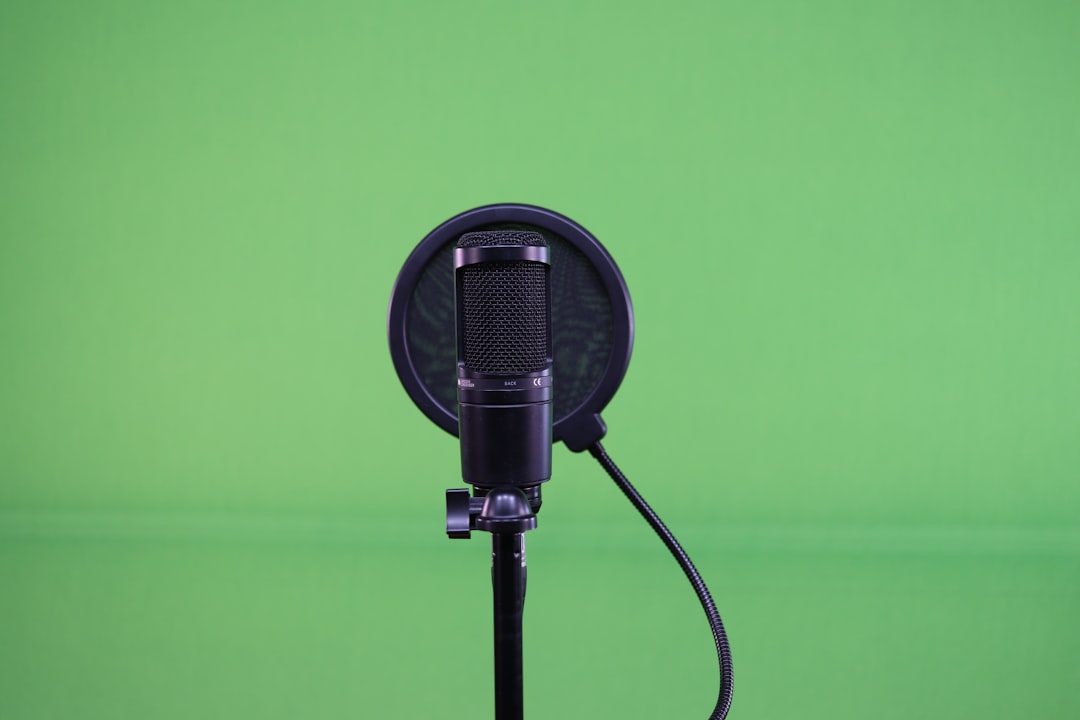
If your Fifine mic is cardioid (most are), it captures sound primarily from the front. Ensure the correct side faces you—many users accidentally speak into the wrong side, resulting in thin or distant sound.
Step 3: Adjust Equalization (EQ) for Clarity
Equalization allows you to shape your voice’s tone. A professional sound often means reducing muddiness and enhancing presence.
Basic EQ Adjustments
- High-pass filter (80–100 Hz): Removes low-frequency rumble.
- Cut 200–400 Hz: Reduces muddiness.
- Boost 3–5 kHz: Adds clarity and presence.
- Slight boost at 10–12 kHz: Adds “air” (use sparingly).
Do not over-EQ your audio. Subtle adjustments make a significant difference without making your voice sound artificial.
Most software tools like OBS Studio, Audacity, and Reaper include built-in equalizer plugins. If you are streaming, configure filters directly within your input source settings.
Step 4: Apply Compression Carefully
Compression evens out volume differences between loud and soft speech. Professional broadcasts almost always use compression.
Recommended Compression Settings
- Ratio: 3:1 or 4:1
- Threshold: Around -18 dB
- Attack: 5–10 ms
- Release: 40–100 ms
Compression should not be obvious. If your audio sounds “squashed” or unnatural, lower the ratio or raise the threshold.
The goal is to maintain consistent loudness while preserving vocal dynamics.
Step 5: Reduce Background Noise
Even a well-adjusted microphone can sound unprofessional if background noise is present.
Use Noise Suppression Filters
Most recording platforms offer simple noise reduction tools:
- OBS: RNNoise or Speex filter
- Audacity: Noise Reduction effect
- Third-party plugins: Advanced AI noise suppression tools
Apply noise suppression lightly. Excessive filtering creates robotic artifacts.
Improve Your Environment
Software cannot completely fix poor acoustics. To improve your environment:
- Add soft materials (curtains, carpets, cushions).
- Avoid bare walls and hard surfaces.
- Record in smaller rooms with less echo.
- Turn off fans and nearby electronics.
Room treatment often improves audio quality more dramatically than upgrading equipment.
Step 6: Adjust Monitoring and Output Levels
Professional sound is not only about recording quality but also about consistent playback.
- Monitor through headphones while adjusting settings.
- Ensure your final output peaks around -3 dB.
- Avoid excessive normalization or limiting.
If your Fifine microphone includes a headphone jack (on select models), use it for real-time monitoring with zero latency.
Common Mistakes to Avoid
Many users unknowingly sabotage their sound. Avoid the following:
- Speaking too far from the mic
- Turning gain too high to compensate for distance
- Stacking too many filters
- Recording in echo-filled rooms
- Ignoring clipping warnings
Professional audio is usually the result of subtle, controlled adjustments—not aggressive processing.
Advanced Tips for a Studio-Like Sound
1. Use a Limiter
A limiter prevents sudden loud peaks from distorting. Set the limiter ceiling at -3 dB for clean results.
2. Maintain Consistent Mic Technique
Keep a stable posture and distance while speaking. Moving frequently changes tonal balance.
3. Warm Up Your Voice
Professionals prepare their voice before recording. Hydration and simple vocal exercises improve tonal richness.
4. Create a Preset Profile
Once your settings are optimized, save them as a preset in your recording software. This ensures consistent sound across sessions.
Troubleshooting Audio Problems
If your mic sounds too quiet:
- Increase gain slightly.
- Move closer to the microphone.
- Check system input levels.
If your mic sounds distorted:
- Lower gain immediately.
- Check for clipping in your software.
- Reduce compression ratio.
If your mic sounds hollow or echoey:
- Reduce room reflections.
- Move away from walls.
- Add soft furnishings to absorb sound.
Consistency Is the Key to Professional Sound
Professional audio is not defined by price—it is defined by control and consistency. The right gain structure, proper microphone placement, moderate EQ, controlled compression, and a treated environment together create a polished result.
Fifine microphones are fully capable of delivering clear, present, and authoritative sound when handled correctly. By systematically adjusting each variable and listening critically, you can transform a basic home recording setup into a professional-grade audio environment.
Take the time to test, record short samples, and compare adjustments methodically. Small refinements produce lasting improvements.
When properly configured, your Fifine microphone can deliver audio that sounds confident, clean, and broadcast-ready.