
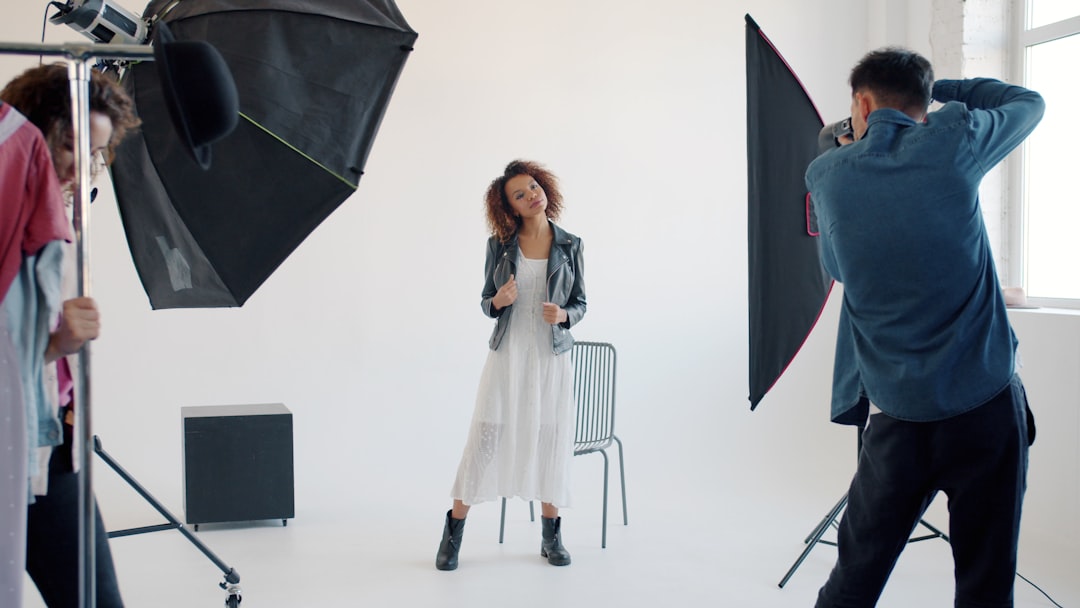
Professional video quality comes from controlled capture, disciplined media management, and repeatable editing workflows. Expensive cameras help, but they do not rescue poor planning, bad audio, weak lighting, or chaotic post-production. A serious production process treats every stage as connected: camera settings affect grading, sound affects perceived quality, and file organization affects delivery speed.
TLDR: Pro video production is less about owning the flashiest gear and more about using reliable tools in a structured workflow. For example, a small training company that records 12 lessons per month can cut editing time by 25% to 35% by using naming rules, proxy files, and preset export templates. Good audio, clean lighting, and consistent color often matter more than shooting in 8K. Build a process once, then refine it after every project.
Contents
- 1 What “Pro Video Pro” Really Means
- 2 Core Production Tools That Matter
- 3 Pre Production: The Quiet Time Saver
- 4 Camera Settings and Capture Discipline
- 5 Audio Is the Hidden Quality Signal
- 6 Editing Workflows That Keep Projects Under Control
- 7 Editing Techniques for Stronger Stories
- 8 Color Correction and Color Grading
- 9 Graphics, Captions, and Accessibility
- 10 Export Settings and Delivery
- 11 Building a Repeatable Professional System
What “Pro Video Pro” Really Means
A professional video setup is not one tool. It is a chain of decisions. The chain starts with the brief and ends with the final export. If one link is weak, the result suffers.
Pro Video Pro thinking means you know why each tool is used, not just where the button sits. A cinema camera, mirrorless body, smartphone, or broadcast camera can all produce strong content when used with care. The difference is control. Pro workflows give you control over exposure, focus, audio levels, codecs, backups, edits, color, and delivery.
Core Production Tools That Matter
Start with the tools that improve reliability. Fancy extras can wait.
- Camera: Choose a camera that supports manual exposure, consistent frame rates, clean HDMI if needed, and a codec your editor can handle.
- Lenses: Good glass shapes the image. A fast prime lens can improve interviews more than a higher resolution sensor.
- Audio gear: Use lavalier mics, shotgun mics, or an external recorder. Viewers forgive average visuals faster than muddy sound.
- Lighting: Soft key light, fill control, and background separation create a polished frame. Even one quality light can change the result.
- Stabilization: Tripods, monopods, sliders, and gimbals reduce distraction. Stable footage feels intentional.
- Monitoring: External monitors and headphones catch problems before they become expensive fixes.
Honestly, it feels like too many creators buy a new camera before buying a decent microphone. That is backwards. Bad sound makes a video feel amateur within five seconds.
Pre Production: The Quiet Time Saver
Pre production is where professional work gets cheaper. The more you decide before the shoot, the less you repair later.
A useful pre production package includes:
- Creative brief: goal, audience, tone, message, call to action.
- Script or outline: exact words for formal content, bullet points for natural delivery.
- Shot list: wide shots, close ups, product details, cutaways, screen captures.
- Schedule: setup time, recording blocks, breaks, backup time.
- Technical plan: resolution, frame rate, audio format, color profile, file naming.
Expect to waste time on set if nobody owns the shot list. A missing insert shot can add an hour to the edit or force a weak visual patch.
Camera Settings and Capture Discipline
Professional footage starts with consistency. Use the same frame rate across cameras unless you have a clear reason. Common choices include 24 fps for a film style, 25 or 30 fps for web and corporate work, and 50 or 60 fps for smooth motion or slow playback.
Keep shutter speed tied to frame rate when possible. At 25 fps, 1/50 is a common choice. At 30 fps, 1/60 is common. This keeps motion natural. Use aperture for depth of field, ISO for sensor sensitivity, and neutral density filters when the scene is too bright.
White balance deserves real attention. Auto white balance can shift during a take. That creates color changes that are annoying to fix. Set a Kelvin value or use a white card. If you shoot log footage, expose carefully. Log gives more grading room, but underexposed log footage can turn noisy fast.
Audio Is the Hidden Quality Signal
Audio carries trust. A crisp voice feels credible. A roomy, harsh, or distorted voice feels careless.
Record with peaks around -12 dB to -6 dB, leaving headroom for sudden loud words. Use closed headphones on set. Watch for clothing rustle on lav mics. Avoid placing shotgun mics too far away. A microphone three feet from the speaker in a reflective room will not sound professional just because it costs more.
For interviews, record room tone for 30 seconds. This helps smooth edits later. It is a small habit with a large payoff.
Editing Workflows That Keep Projects Under Control
The edit begins before the first clip hits the timeline. A clean folder structure prevents mistakes.
Use a simple project layout:
- 01 Footage
- 02 Audio
- 03 Graphics
- 04 Project Files
- 05 Exports
- 06 Archive
Rename files or use bins by scene, camera, and date. Back up media to at least two separate drives. For paid work, one copy is not a backup. It is a gamble.
Use proxies when footage is heavy. Proxies are lower resolution copies that make editing smoother. A laptop that struggles with 4K H.265 may handle 1080p proxy files with ease. The final export still uses the original media.
Editing Techniques for Stronger Stories
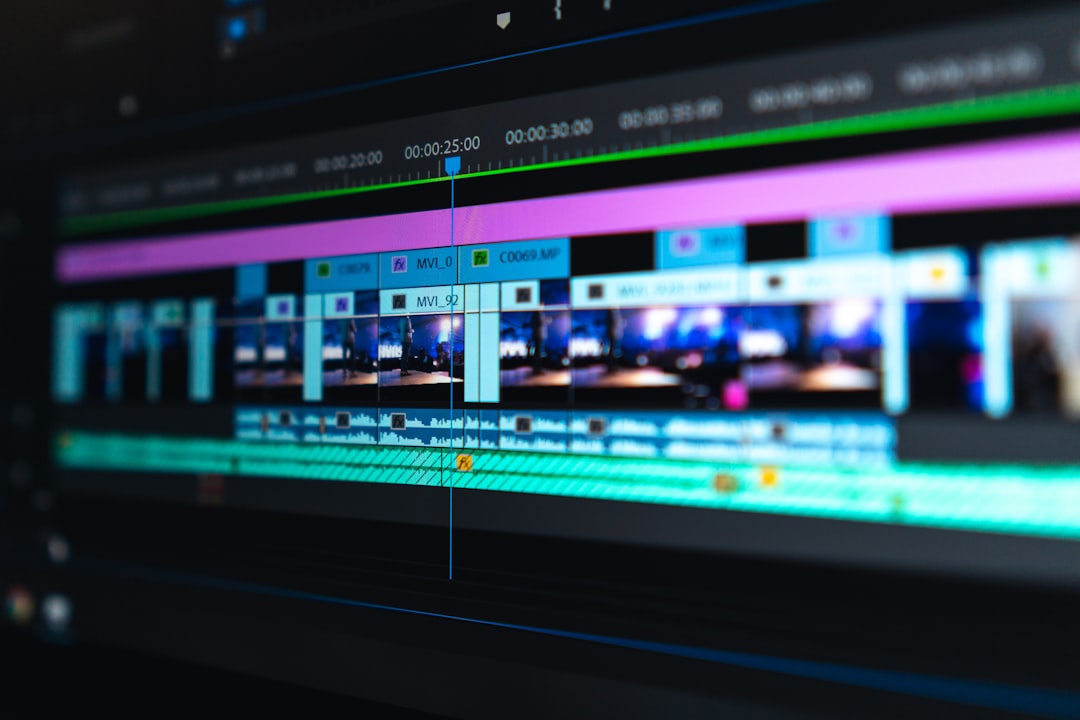
Good editing is not just cutting mistakes. It shapes attention. Start with structure:
- Assembly cut: place the best material in order.
- Rough cut: remove weak sections and fix pacing.
- Fine cut: refine timing, transitions, and graphics.
- Sound pass: clean dialogue, balance music, add effects.
- Color pass: match shots and build the final look.
- Quality check: inspect audio, titles, legal assets, and export settings.
Use cuts with purpose. A jump cut can add speed. A reaction shot can add emotion. A cutaway can hide an edit. B roll should support the message, not decorate empty space.
It drives me crazy when software adds tiny background tasks that make a simple trim lag by two or three seconds. To reduce this, close unused panels, generate proxies, clear cache files, and keep project media on a fast SSD.
Color Correction and Color Grading
Color correction fixes problems. Color grading creates style. Do them in that order.
First, balance exposure and contrast. Then match white balance across shots. Next, adjust skin tones. Scopes help here. Waveforms, vectorscopes, and histograms are more reliable than your eyes, especially on an uncalibrated monitor.
After correction, add the grade. Keep it restrained for business, education, medical, legal, and finance content. Heavy teal shadows or crushed blacks can look forced. A trustworthy grade often has clean whites, natural skin, controlled contrast, and consistent saturation.
Graphics, Captions, and Accessibility
Graphics should clarify. Lower thirds, charts, callouts, and end screens must match the brand and stay readable on mobile screens. Use safe margins. Avoid tiny type.
Captions are no longer optional for serious content. Many viewers watch without sound. Captions also improve comprehension for technical subjects. For training videos, captions can reduce support requests because viewers can scan terms and replay sections with ease.

Export Settings and Delivery
Export for the platform, not your ego. A huge master file is useful for archiving, but it may be wrong for upload.
- Web video: H.264 or H.265, MP4 container, platform recommended bitrate.
- Broadcast or agency delivery: follow the spec sheet exactly.
- Archive master: use a high quality codec such as ProRes or DNxHR when storage allows.
- Social cutdowns: create versions for 16:9, 9:16, and 1:1 if the campaign needs them.
Always watch the exported file from start to finish. Check the first frame, last frame, captions, audio sync, loudness, spelling, and black frames. Small errors damage confidence.
Building a Repeatable Professional System
High quality content comes from repeatable habits. Create templates for projects, bins, sequences, titles, audio chains, color nodes, and exports. Track what slows each project down. Fix one bottleneck at a time.
A professional workflow is not rigid. It is predictable. It lets creative decisions happen without technical chaos. When tools, files, and people follow a shared process, production becomes faster, cleaner, and more dependable.
The best result is simple: better footage, cleaner edits, fewer surprises, and content that earns attention for the right reasons.

