
A CD fixer machine can save discs that skip because of surface scratches, but it cannot bring back missing data. The machine works by shaving and polishing the clear plastic underside of the disc so the player’s laser can read the pits and lands again. If the reflective layer is cracked, peeled, punctured, or damaged from the label side, replacement is usually the only real fix.
TLDR: A CD repair machine removes a tiny amount of plastic, usually only a few microns, then buffs the surface back to optical clarity. It works best on light to moderate circular haze, scuffs, and shallow scratches on the readable side. For example, a used media shop may recover 70 to 90 discs out of 100 when the damage is limited to the plastic layer. Deep gouges, pinholes, cracks, and label-side cuts usually stay dead.
Contents
How a CD Fixer Machine Works
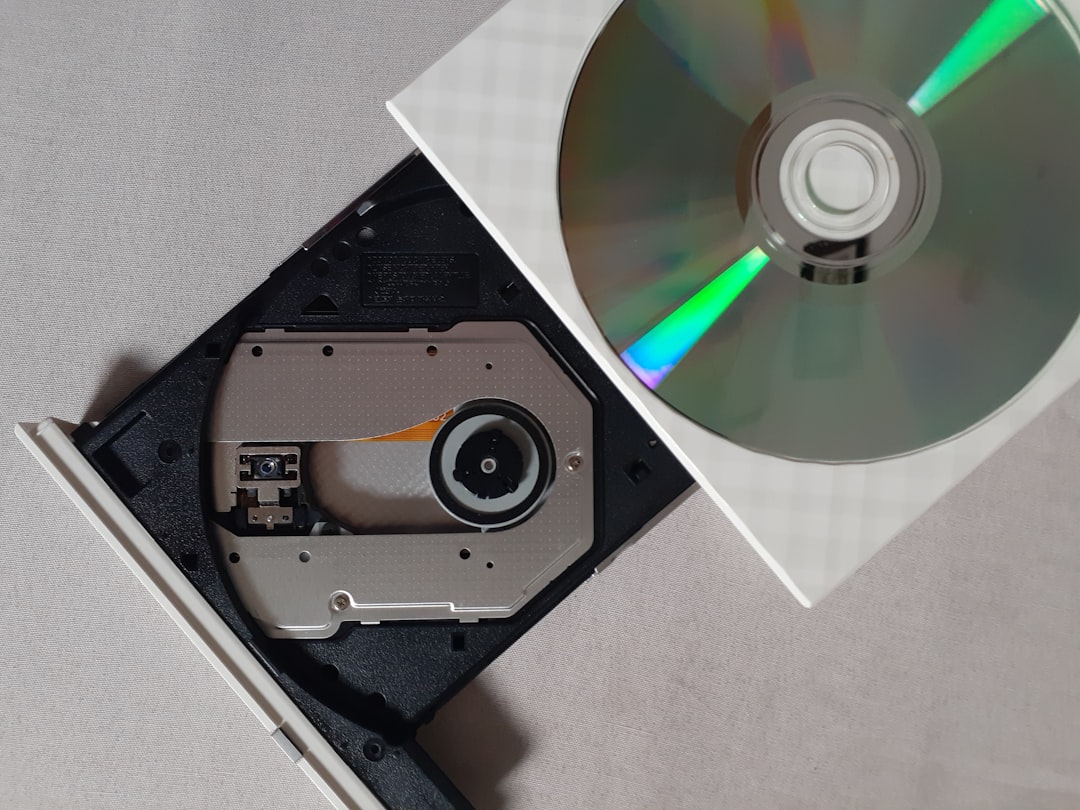
A CD fixer machine, also called a disc resurfacer or CD repair machine, does not “heal” the disc. It removes damaged plastic from the bottom surface. Then it polishes that surface until it becomes smooth enough for a CD laser to pass through cleanly.
A standard CD has several layers. The top label sits over the reflective metal layer. The digital information is read through the clear polycarbonate bottom. This bottom layer is the part most repair machines treat. When scratches scatter the laser beam, the player misreads the data and may skip, freeze, or fail to load.
Most repair machines use one of three methods:
- Abrasive pads: These gently sand the surface to level out scratches.
- Liquid compounds: These help cut and polish the plastic without leaving heavy swirl marks.
- Buffing wheels: These restore clarity after the damaged layer has been reduced.
Professional machines often run in timed cycles. A light repair may take 30 to 90 seconds. A heavier repair may take several minutes and use more than one pad or compound. Cheap manual devices can work on light scuffs, but they may leave a cloudy finish. It drives repair staff crazy when a bargain kit makes a disc look worse after a full minute of grinding in one direction.
Which Scratches Can Be Fixed?
Repairable scratches are usually on the shiny underside of the disc. These are the marks most people notice when they tilt a CD under a lamp. If the scratch sits in the clear plastic and has not reached the reflective layer, a fixer machine has a fair chance.
Common repairable damage includes:
- Light hairline scratches: These have the highest success rate.
- Surface scuffs: Cloudy rub marks from sleeves or cases often polish out well.
- Moderate radial scratches: Scratches running from center to edge can often be reduced.
- Light circular marks: These can be more annoying because they follow the laser path, but many can still be treated.
- General haze: A dull surface may become readable again after polishing.
Some scratches are risky. A deep groove that catches a fingernail may still improve, but full recovery is not guaranteed. The machine can only remove enough plastic to flatten the scratch. Remove too much, and the disc may become warped, thin, or optically distorted.
Non repairable damage is different. If light shines through tiny pinholes in the disc, the reflective layer is missing. If the label side has been scratched hard enough to cut the metal layer, the data is physically gone. If the disc is cracked near the hub, it may shatter at high speed inside a drive. No sane technician should place that disc in a machine.
Why Label-Side Damage Is So Bad
Many people assume the bottom of a CD is the most fragile side. Oddly, the label side can be worse. On CDs, the reflective data layer sits close to the top. A deep scratch through the printed label can destroy the metal layer underneath.
A bottom scratch bends or scatters light. That can often be corrected. A top scratch can remove the actual readable material. There is nothing for a machine to polish back into place. If a marker, knife, staple, or rough surface damages the label side, the disc may be beyond repair even when the underside looks clean.
How to Restore a Damaged Disc Safely
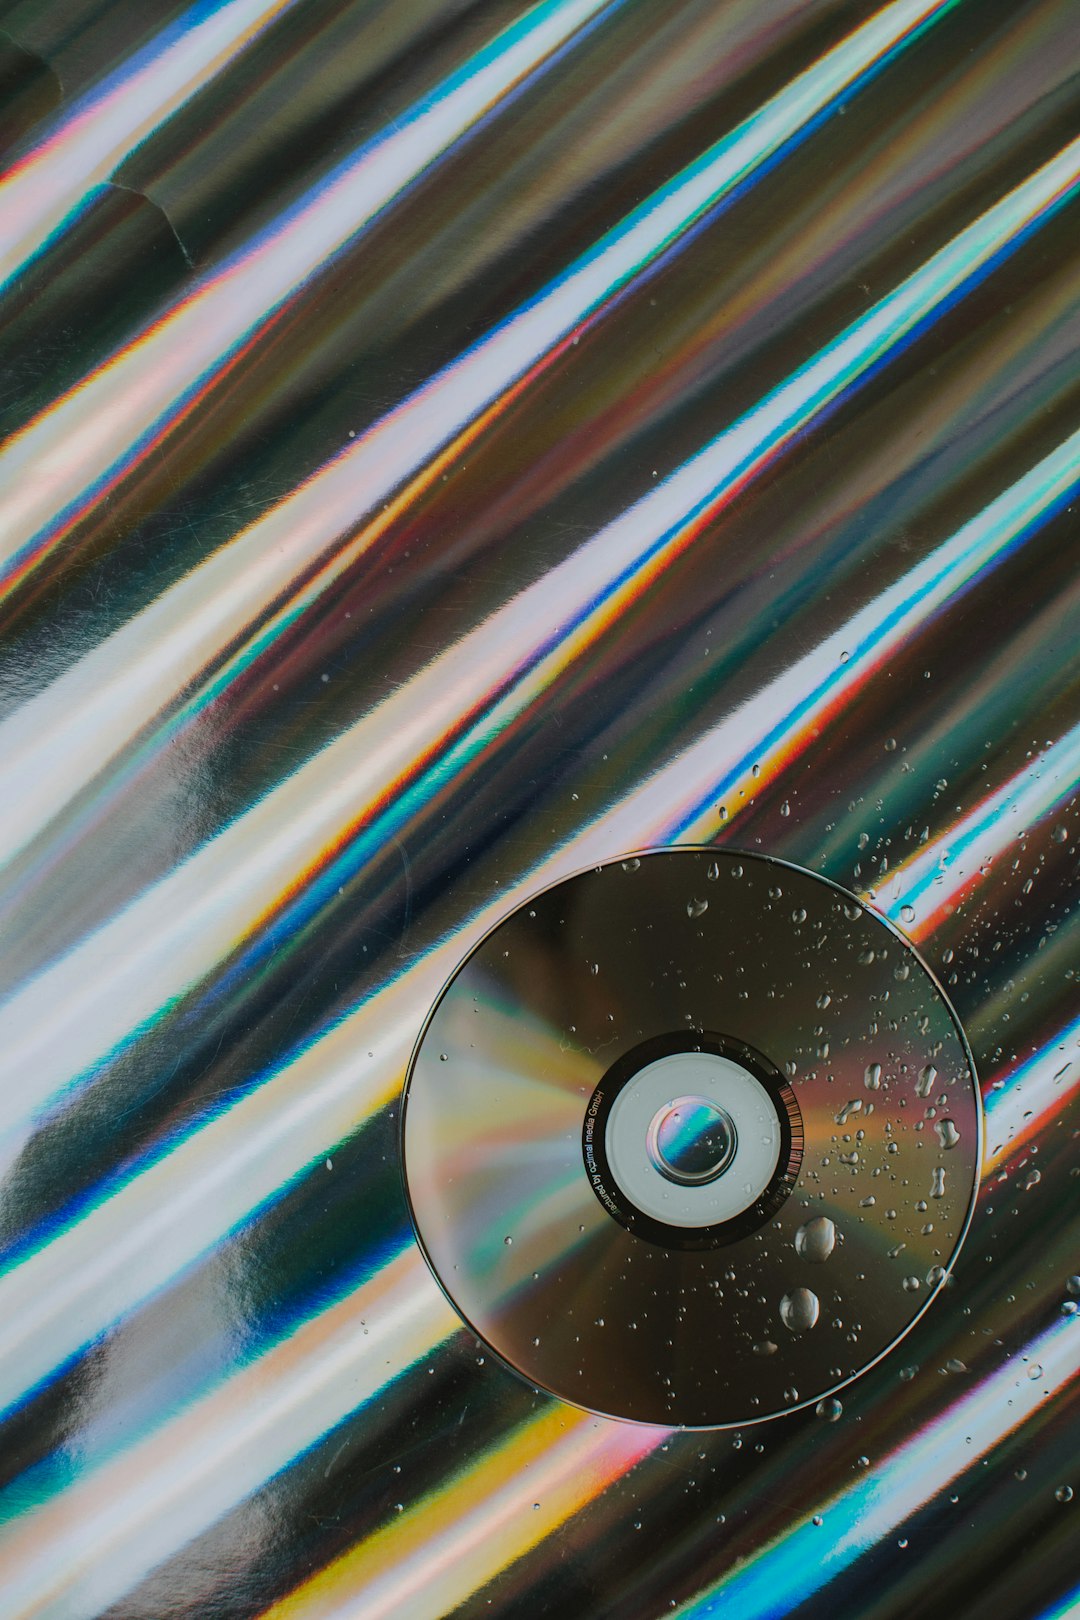
The safest repair process starts with inspection. A disc should be held under a bright light and checked from both sides. If there are cracks, peeling foil, sticky residue, or pinholes, resurfacing may be pointless or unsafe.
- Clean the disc first. Dust and grit can create new scratches during repair.
- Wipe from center to edge. Straight strokes are safer than circles.
- Use water or disc-safe cleaner. Harsh solvents can cloud the plastic.
- Dry with a microfiber cloth. Paper towels can add fine scratches.
- Choose the lightest repair cycle. More cutting is not always better.
- Test the disc after one pass. Repeating cycles wastes plastic.
The catch is that patience matters. A user may want to run the harshest cycle at once, especially when a favorite music CD has been skipping for years. That can backfire. A light pass may solve the problem while preserving the disc for future repairs.
For valuable discs, professional resurfacing is usually safer than a home gadget. A good shop machine keeps the disc level, uses controlled pressure, and finishes with a clean polish. That reduces haze, wobble, and uneven sanding marks.
Home Kits vs Professional CD Repair Machines
Home repair devices are cheap and simple. They can help with small scuffs, rental case marks, and light scratches. Some use a hand crank. Others use batteries. Most rely on a mild abrasive pad and a polishing fluid.
Professional machines cost far more, but they produce more consistent results. They often have separate sanding, polishing, and cleaning stages. Some also include vacuum systems or fluid pumps. Shops that repair games, CDs, DVDs, and library media tend to use these because they handle volume better.
Still, even a professional CD fixer machine has limits. A perfect mirror shine does not always mean a perfect read. The disc may have manufacturing defects, data rot, heat damage, or warping. If a computer drive needed 20 tries before repair, it may still need a slower read speed after repair.
Practical Tips Before Repair
- Back up readable discs first. If a computer can still copy the files, that should happen before any resurfacing.
- Avoid toothpaste except as a last resort. It is inconsistent and may leave haze.
- Do not repair cracked discs. They can break inside a high speed drive.
- Check return policies for rare media. A failed repair may reduce collector value.
- Store repaired discs properly. Use clean cases, not paper sleeves.
FAQ
Can a CD fixer machine repair every scratched CD?
No. It can repair many scratches in the clear plastic underside. It cannot restore missing reflective material, cracks, pinholes, or badly damaged label-side data.
How many times can a CD be resurfaced?
A disc can only be resurfaced a limited number of times because each repair removes plastic. Light repairs may allow several attempts. Heavy repairs reduce that number fast.
Are circular scratches worse than straight scratches?
Often, yes. Circular scratches can follow the laser’s reading path and cause longer read errors. Straight scratches from center to edge are usually easier for error correction to handle.
Can toothpaste fix a CD?
Sometimes it may reduce tiny scratches, but it is messy and unreliable. A proper polish or repair machine gives a cleaner and more predictable result.
Should rare CDs be repaired at home?
Usually not. Rare, signed, or collectible discs should be handled by a professional, or copied first if readable. A poor repair can lower value.
What is the best way to prevent future damage?
Discs should be stored in clean cases, handled by the edges, kept away from heat, and wiped only with microfiber cloths using center-to-edge strokes.

